Quick Answer
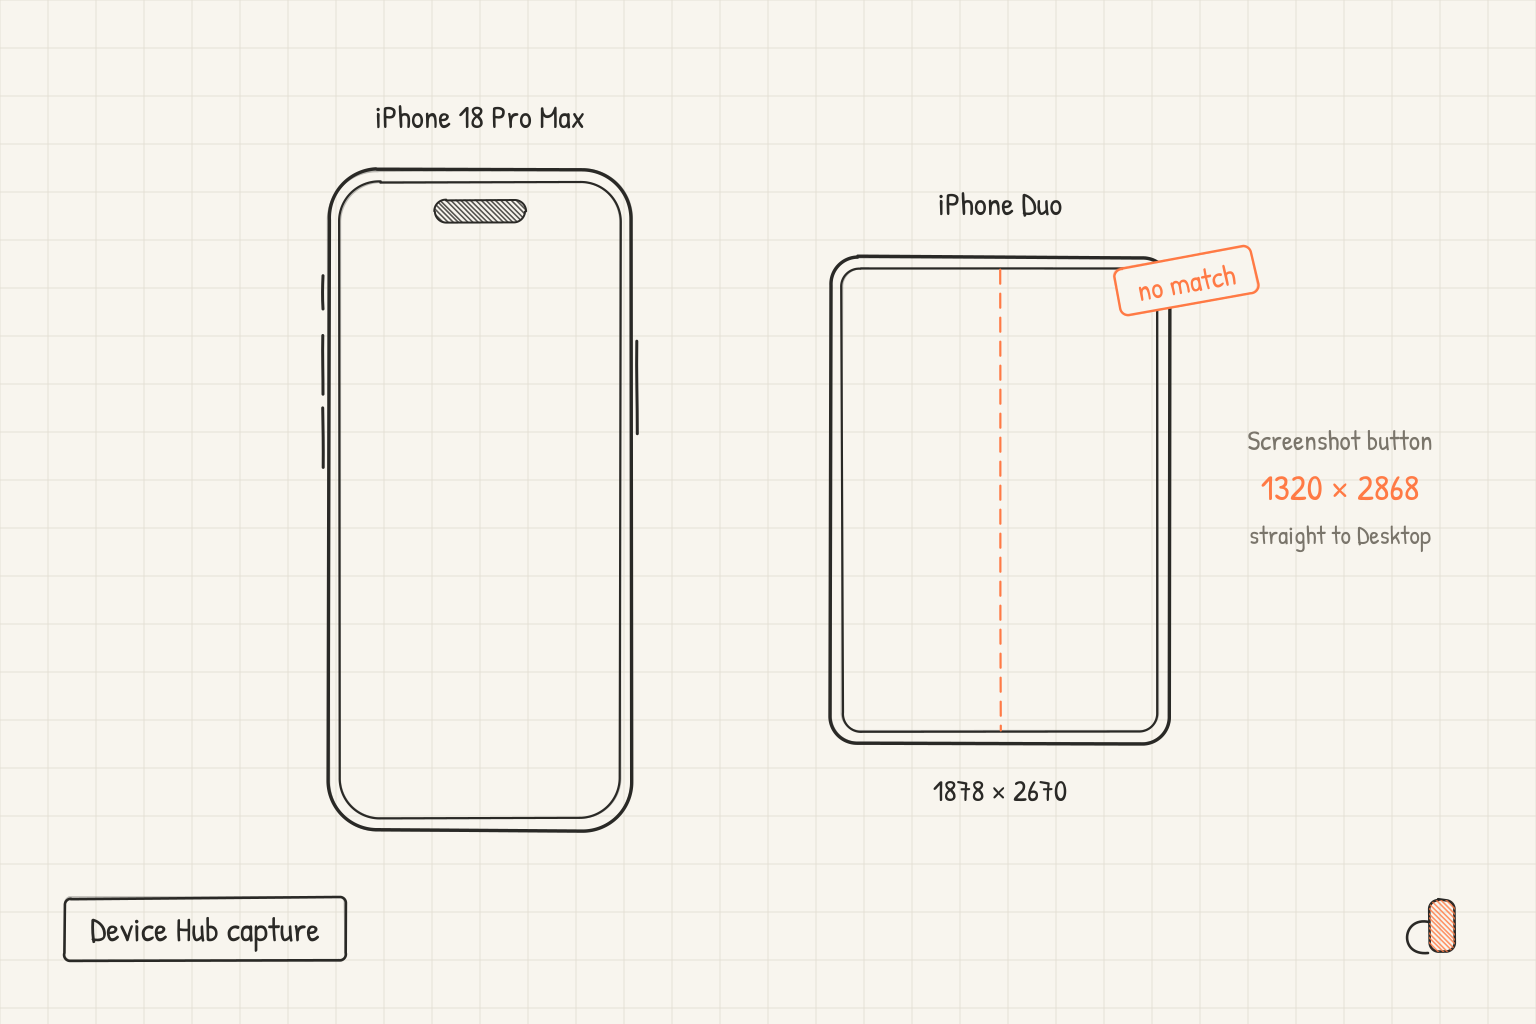
Xcode 27 captures screenshots through Device Hub. Run your app on a simulated or physical device, go to the screen you want, then click the Screenshot button below the device in the canvas. Apple's guide to capturing screenshots and videos from devices says Device Hub captures the image at the full resolution of the simulated or physical device, regardless of the display resolution of your Mac, and saves it to the Desktop folder on your Mac. That resolution decides whether the file is uploadable at all: an iPhone 18 Pro Max capture lands at 1320 × 2868, which is an accepted App Store size, while an iPhone Duo inner display capture lands at 1878 × 2670, which is not.
Set up the device before you press the button
Apple's Device Hub page says that running your app on a simulated or physical device opens a compact window showing your app on a device screen, and that you can expand that window to show the sidebar, canvas and inspector areas separately. Expand it. The inspector holds the settings that change what your screenshots look like.
Apple's page on configuring the environment of a simulated device gives the sequence: select a simulated device in the sidebar, click Start in the canvas if it is not running, then change the environment settings in the Settings inspector, such as Appearance, Liquid Glass and Text Size. Decide those before you capture. For a light set and a dark set, flip Appearance and walk the same list of screens twice, rather than recolouring finished images.
The canvas toolbar also offers resize mode, which is not a shortcut to an upload size. Apple's page says you drag a handle on the top, bottom or sides of the simulator, or type dimensions below it, and Device Hub snaps the screen size to the nearest valid size. It is a layout check. The Xcode 27 release notes list a fixed issue against it: resize mode with an app linked against an iOS 26 or earlier SDK is unsupported and may result in a black screen. Those notes also say Xcode 27 requires a Mac running macOS Tahoe 26.6 or later.
Take the shot and find the file
The capture is three steps. Run your app on a simulated or physical device in Device Hub, navigate to the place in your app you want, then click the Screenshot button below the device in the canvas. There is no scaling step, so a Retina panel, a scaled external monitor and a laptop display all produce the same pixels.
The file goes to your Desktop folder. If it does not, a preference is redirecting it. The release notes record that Device Hub honours a location you set for Simulator screenshots before falling back to the global default, and give the order it checks: screenCaptureLocation in com.apple.dt.devices, then ScreenShotSaveLocation in com.apple.iphonesimulator, then location in com.apple.screencapture. Check those three keys in that order when a capture goes missing.
To confirm what you got, select the file in Finder and press Command-I. The Info window lists the pixel dimensions, and they have to match a row on Apple's screenshot specifications page exactly.
Which captures already match an accepted size
Apple publishes each device's screen resolution on its specs pages, and the specifications page publishes the sizes App Store Connect accepts. Where the two agree, a raw capture is already the right size. The table puts both in portrait order, width first.
| Device | Device Hub capture | Accepted size for its class | Match |
|---|---|---|---|
| iPhone 18 Pro Max | 1320 × 2868 | 1320 × 2868 (6.9 inch) | Yes |
| iPhone Air | 1260 × 2736 | 1260 × 2736 (6.9 inch) | Yes |
| iPhone 18 Pro | 1206 × 2622 | 1206 × 2622 (6.3 inch) | Yes |
| iPhone 17 | 1206 × 2622 | 1206 × 2622 (6.3 inch) | Yes |
| iPad Pro 13 inch | 2064 × 2752 | 2064 × 2752 (iPad 13 inch) | Yes |
| iPad Pro 11 inch | 1668 × 2420 | 1668 × 2420 (iPad 11 inch) | Yes |
| iPhone Duo outer display | 1398 × 2034 | 1398 × 2034 | Yes |
| iPhone Duo inner display | 1878 × 2670 | 2007 × 2853 | No |
Only two rows on the specifications page carry a requirement: the iPad 13 inch row, required if the app runs on iPad, and the 6.5 inch iPhone row, required if the app runs on iPhone and screenshots for the 6.9 inch display are not provided. Capture the 6.9 inch class first. Provide it and the 6.5 inch row stops being required, and the page says a class without its own set is shown scaled screenshots from a larger class. Our 6.9 inch size reference lists the other sizes that class accepts.
The iPhone Duo is the exception worth planning around. Apple's specs page gives its inner display 1878 × 2670 pixels and the specifications page asks for 2007 × 2853. The two are almost exactly the same shape, 0.703 wide to tall in both cases, so nothing has to be cropped. What you should not do is upscale the raw capture by about 7 percent and upload the result. Place the 1878 × 2670 capture inside a 2007 × 2853 canvas and let the surrounding design carry the extra pixels. Our post on iPhone Duo screenshot sizes covers both canvases.
Matching the pixel size is necessary and not sufficient. The same page limits a listing to one to 10 screenshots in .jpeg, .jpg and .png formats, and notes that images cannot include alpha channels or transparencies. Our guide to App Store Connect upload errors walks through each message.
Turning the captures into a listing set for free
A raw capture is correct pixels and a plain screen. To add a headline, a background and a device frame, drop it into the App Store screenshot generator. It is free, needs no account to create or export, adds no watermark, allows unlimited exports and renders in your browser. Exports are PNG files.
The canvas presets match the rows above: 6.9 inch at 1320 × 2868, 1290 × 2796 and 1260 × 2736; 6.3 inch at 1206 × 2622 and 1179 × 2556; iPhone Duo at 2007 × 2853 inner and 1398 × 2034 cover; iPad at 2048 × 2732 and 1668 × 2388, plus a landscape version of each. Frame a capture for any current iPhone including iPhone Duo, iPad or MacBook, use Uniframe for a brand neutral phone frame, or use no frame, then add an image, gradient or colour background, headline text and device tilt. A multi screen project keeps every screen on the same kind of device. The apps gallery shows sets from shipped apps.
It does not check your files against store rules and it does not upload anything to App Store Connect. Validation still happens when you upload.
Frequently Asked Questions
Where does Device Hub save screenshots by default?
Apple's guide says Device Hub saves the screenshot to the Desktop folder on your Mac. The Xcode 27 release notes add that a location you previously set for Simulator screenshots is honoured before the global default. They give the order as screenCaptureLocation, then ScreenShotSaveLocation, then location.
Does my Mac's display resolution change the screenshot size?
No. Apple's guide states that Device Hub captures the screenshot at the full resolution of the simulated or physical device, regardless of the display resolution of your Mac. A capture on a scaled external monitor has the same dimensions as one on the built in display.
Can I use resize mode to hit an accepted App Store size?
No. Apple's page says Device Hub snaps the screen size to the nearest valid size when you drag or type dimensions, so you get device screen sizes rather than arbitrary ones. Treat it as a way to see whether your layout holds at another size. The release notes also flag that resize mode with an app linked against an iOS 26 or earlier SDK is unsupported.
Is a physical device capture different from a simulator capture?
For dimensions, no. Apple's guide covers both under the same Screenshot button and the same full resolution behaviour. The one caveat is visionOS: Apple says screenshots and videos captured from a visionOS simulator might have a different size and ratio than those from a physical device, and that you can resize and crop them to match App Store requirements.
Do I need a capture from every iPhone size?
No. The specifications page marks only the 6.5 inch iPhone row required, and only when the app runs on iPhone and 6.9 inch screenshots are not provided, plus the iPad 13 inch row when the app runs on iPad. Capture the 6.9 inch class first, because Apple's page says a class without its own set is shown scaled screenshots from a larger class.