Quick Answer
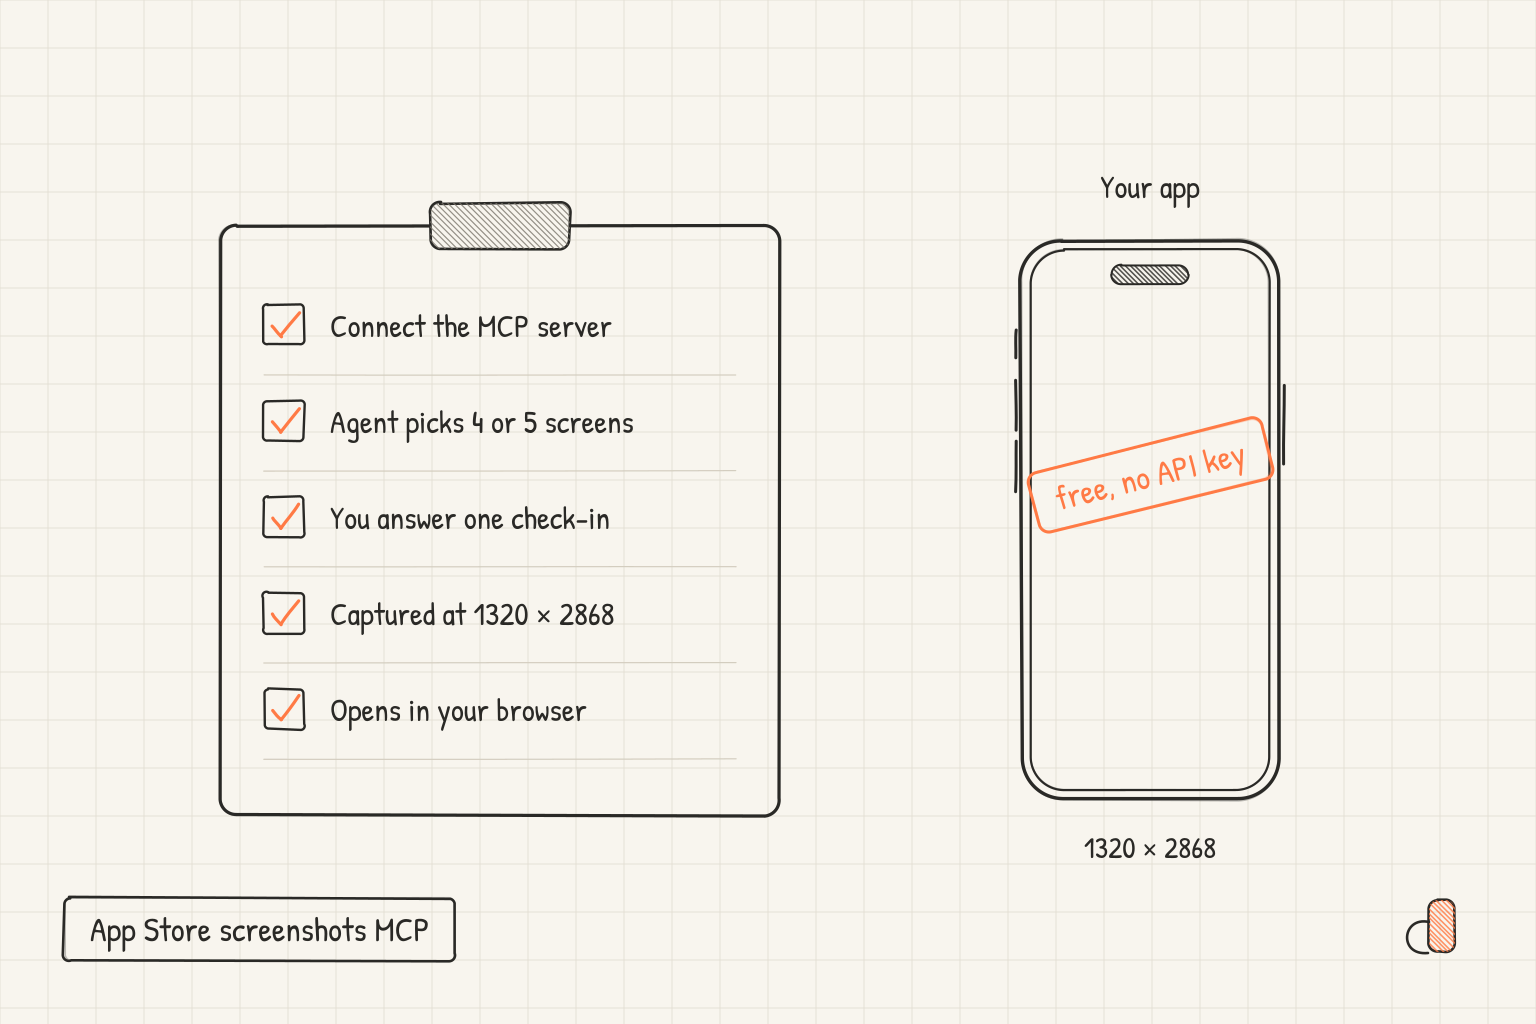
An App Store screenshots MCP server lets your coding agent make your store screenshots for you. appdesigns runs a free one at https://appdesigns.click/api/mcp. Connect it with one command, open your app's folder and say "Make App Store screenshots for this app with appdesigns." Your agent reads the code, proposes 4 or 5 screens with a caption each, asks you once before it adds demo data or changes anything, then captures every screen at store size (1320 × 2868 for iPhone, 1080 × 1920 for Google Play) and opens the finished set in your browser, framed and captioned. There is no API key, no sign-in to connect and no AI model on our side: your agent does the thinking on your own plan. You can export straight away, or sign in to a free account to save the set and keep editing it.
Why hand screenshots to your coding agent
Most of the work in a screenshot set is not design. It is booting the right simulator, setting the clock to 9:41, filling empty screens with believable data, getting to each screen, capturing at an accepted size, and then framing and captioning every image. Each step is mechanical, and each one is easy to get slightly wrong, which is how a set ends up with a 24-hour clock in one shot and a low battery in the next.
A coding agent is already sitting in your repository. It can read your router to find the screens worth showing, your README and store copy to find what the app promises, and your theme files to find your brand colour. It can run the simulator commands without looking them up. What it could not do on its own is turn raw captures into a finished, framed set you can edit. That is the part the appdesigns MCP server adds.
The screenshots show your real app. Nothing is generated or redrawn: the agent captures your actual UI from a simulator, an emulator or a browser, and appdesigns places each capture in a device frame with a headline above it.
Step 1: Connect the MCP server
Pick the line for your agent and run it once in a terminal. Every command points at the same endpoint, a Streamable HTTP server that needs no key.
- Claude Code:
claude mcp add --transport http --scope user appdesigns https://appdesigns.click/api/mcp - Codex:
codex mcp add appdesigns --url https://appdesigns.click/api/mcp(the CLI, the IDE extension and the ChatGPT desktop app share this config) - Gemini CLI:
gemini mcp add -s user -t http appdesigns https://appdesigns.click/api/mcp - VS Code with Copilot:
code --add-mcp '{"name":"appdesigns","type":"http","url":"https://appdesigns.click/api/mcp"}' - Any other agent:
npx add-mcp https://appdesigns.click/api/mcp, which can set it up in about 20 agents at once
Cursor and VS Code also get one-click install buttons on the MCP server page. If you would rather not touch a terminal at all, copy the prompt from that page into your agent: it connects the server itself and then carries on with the job. In Claude Code, a server added in the middle of a session loads after a restart: quit, run claude --continue and say "continue".
Step 2: Ask for screenshots in your app's folder
Open your agent in the project folder and say: "Make App Store screenshots for this app with appdesigns." For an Android app, ask for Google Play screenshots instead.
The agent first calls the server's get_workflow tool with your platform and store. That returns the capture commands for your stack and the rules for choosing screens, demo data and captions, so the agent does not guess at simulator flags or store sizes. The table shows what it uses on each platform.
| Platform | How the agent captures | Finished size |
|---|---|---|
| iOS (Swift, SwiftUI, UIKit) | iPhone 17 Pro Max simulator, xcrun simctl status bar override and screenshot | 1320 × 2868, plus 13 inch iPad at 2048 × 2732 if the app runs on iPad |
| Android (Kotlin, Compose) | Emulator with a 1080 × 2400 screen, SystemUI demo mode, adb shell screencap | 1080 × 1920 |
| Expo and React Native | Release build on the same simulator or emulator, then the platform's own capture | Either store |
| Flutter | flutter run --release, then flutter screenshot or the platform tools | Either store |
| Web app or PWA | Playwright with a 440 × 956 viewport at 3x | 1320 × 2868 |
The iPhone size is the 6.9 inch class. Provide it and App Store Connect needs no other iPhone set, because the smaller classes are shown scaled versions of it; our 6.9 inch size reference lists every size that class accepts. Google Play caps the long side of a screenshot at twice the short side, which is why the Android set ends at 1080 × 1920 rather than the emulator's 1080 × 2400.
Step 3: Answer the one check-in
Before it edits any code or captures a store screenshot, the agent sends you a single message and waits for your reply. It contains:
- The screens it proposes, best first, with why each one sells the app. The store shows the first few in search results, so the order matters.
- What each screen shows now and what it would add. An empty list sells nothing, so it proposes concrete demo data: six habits and a 12-day streak, say, rather than "some sample data".
- Any code it would change to capture a screen, such as a demo mode switch or a launch argument that opens the app on a given screen, and how to undo it.
- A draft caption for each screen: a short screen name and a benefit headline, like "See where every dollar goes".
Reply with a yes, or change anything. The agent then fills the screens the least invasive way your app allows: a demo mode or seed script you already have, then a launch flag that swaps in fixtures for that run only, then a seed against a local or development database. It never touches production data or a real account, uses fictional names, and does not commit seed code unless you ask. The screen rules also keep out splash screens, logins, onboarding walls, permission prompts, settings, paywalls and empty states, in line with Apple's App Review Guideline 2.3.3, which asks for screenshots that show the app in use.
Step 4: Capture and upload
The agent captures each screen with a clean status bar: 9:41, full Wi-Fi and signal, and a full battery with no charging bolt. It looks at every capture before using it, so a stray alert or a blank launch screen gets retaken.
Then it calls create_project with your app's name, the store, and a screen name and headline per screenshot. The server answers with one upload command. Each line of it fetches a fresh signed link from appdesigns and sends one file straight to storage, so your screenshots never pass through the model's context as text. Files can be PNG or JPEG, up to 6 MB each. Finally finish_project checks each file's real format and size and returns the link to your set.
If your brand colour is in a theme file, the agent passes it along as the background, and appdesigns picks readable text and a frame colour that stands out against it.
Step 5: Open, edit and export
The agent opens the link in your browser itself. The set loads in the appdesigns editor as a new project: each screenshot in a device frame with its headline above it, on your brand colour or a neutral light background. A desktop or laptop screen works best.
From there it is an ordinary appdesigns project. Change any headline, the colours, the device, its frame colour or the layout, then export PNGs at the store size. On the set's solid background they carry no alpha channel, which App Store Connect requires. Export is free, unlimited and has no watermark, and it needs no account. To keep the set, sign in or create a free account and save it; it then stays in your library. The link works until you save the set or for 72 hours, whichever comes first.
What it does not do
- It does not upload to App Store Connect or the Play Console. You export the PNGs and upload them yourself, or hand them to your own fastlane setup.
- It needs an agent with a shell. Capturing and uploading run commands, so a chat assistant in a browser tab cannot do this job. Claude Code, Codex, Cursor, VS Code with Copilot, Gemini CLI, Windsurf, Zed and Cline can.
- It makes one set per run, of up to six screens. For a dark mode set or another language, run it again.
- It does not check your listing against store rules. The export sizes are right, but validation still happens when you upload; our guide to App Store Connect upload errors covers the messages you might see.
If you would rather do it by hand, the App Store screenshot generator is the same editor: drop your own captures into a frame and export. The apps gallery shows sets from apps that shipped.
Frequently Asked Questions
Is the appdesigns MCP server free?
Yes. The server, the editor and every export are free, with no API key and no credits. appdesigns runs no AI model, so there is nothing to meter: your agent does the reasoning on your own plan.
Do I need an account?
Not to connect, to make a set or to export it. You only sign in, or create a free account, to save the set to your library so you can come back and edit it later.
Which coding agents work with it?
Any MCP client that can run shell commands. It has been run end to end with Claude Code and Codex, and the setup page has commands or install buttons for Cursor, VS Code with Copilot and Gemini CLI. npx add-mcp covers about 20 more.
Can it make Google Play screenshots?
Yes. Ask for Google Play screenshots and the agent captures on an Android emulator, and appdesigns sends back a set at 1080 × 1920 in a Pixel 11 Pro or Galaxy S26 Ultra frame. Play asks for at least two screenshots to publish and at least four to be eligible for promotion.
What happens to my screenshots?
They go to a private staging area that nobody can browse. Saving the set copies them into your own private project and deletes the staged files, and an unsaved set is deleted after 72 hours. Nothing becomes public unless you submit a set to the gallery yourself.
How long does it take?
The appdesigns calls take seconds. Most of the time is your agent reading the app, building it and capturing each screen: a couple of minutes for a small app, ten or so for a large one, plus however long you take to answer its one question.