Quick Answer
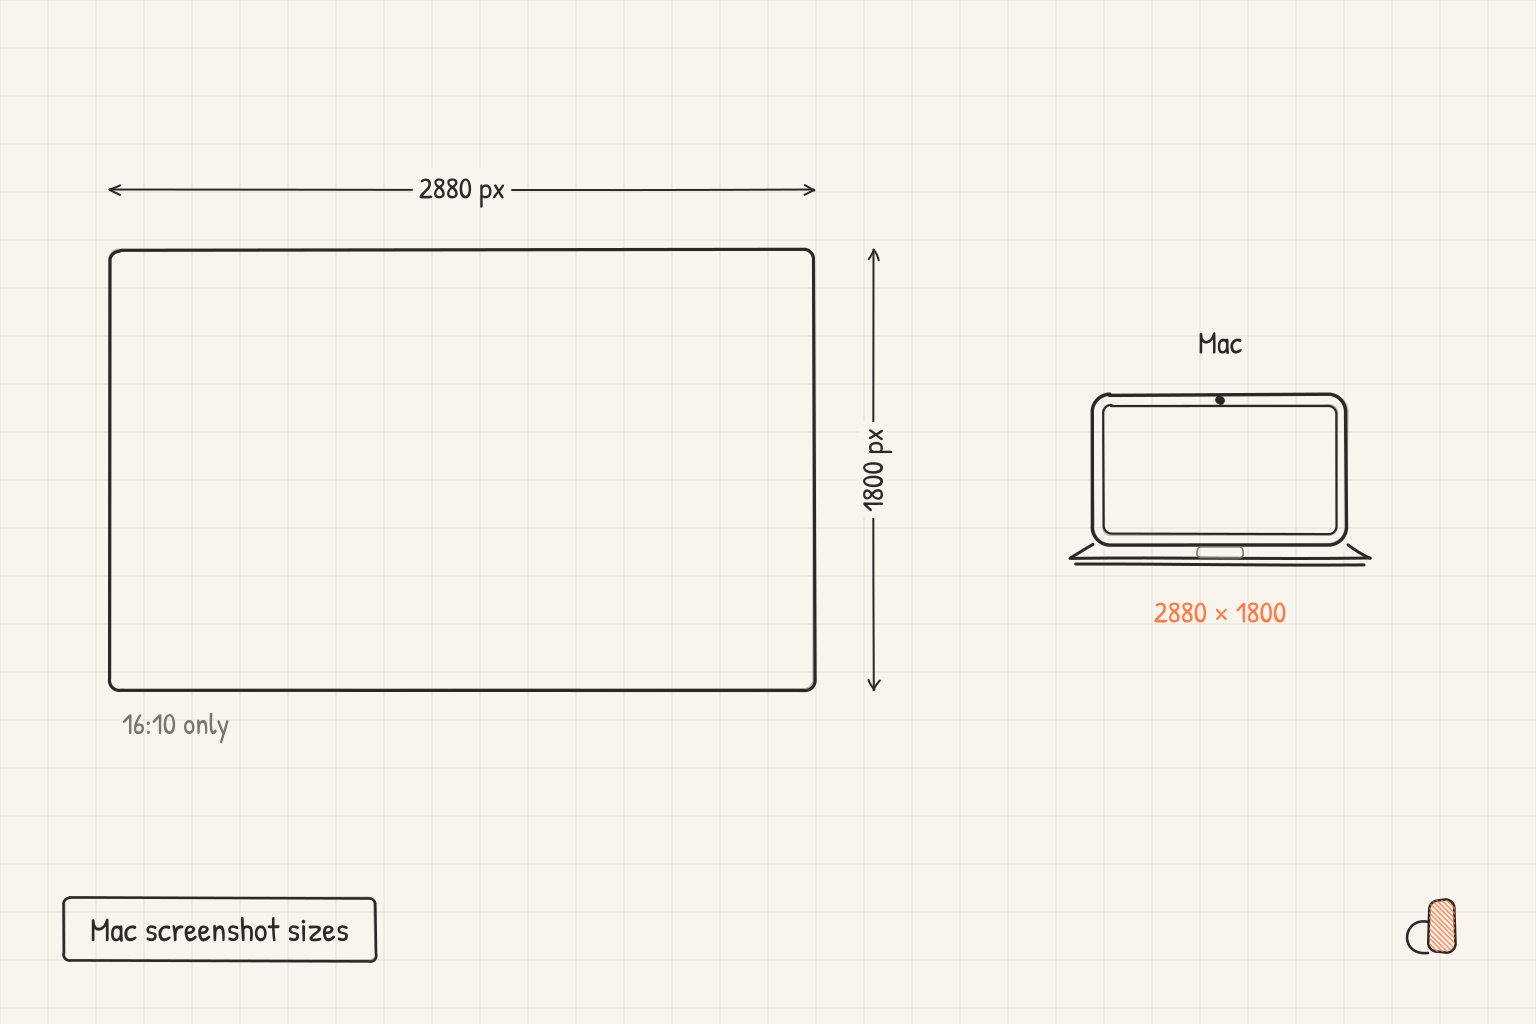
App Store Connect accepts Mac screenshots at four sizes, introduced on its screenshot specifications page with the line "One of the following, with a 16:10 aspect ratio": 2880 × 1800, 2560 × 1600, 1440 × 900 and 1280 × 800 pixels. A capture at a MacBook panel's native resolution is not one of them: Apple lists the 14.2 inch MacBook Pro display at 3024 × 1964 and the 16.2 inch at 3456 × 2234, both nearer 1.54:1 than the 1.6:1 the store wants. So the job is capture, crop the height to 16:10, then scale. A Mac set is required for Mac apps, and you can upload one to 10 files in PNG or JPEG.
The four sizes the store accepts
Apple gives Mac a single row on its screenshot specifications page, with four dimensions and the requirement "Required for Mac apps". All four are the same shape, so they are four renderings of one landscape design.
| Accepted size | Aspect ratio | Compared with 2880 × 1800 |
|---|---|---|
| 2880 × 1800 | 16:10 | largest accepted |
| 2560 × 1600 | 16:10 | 8/9 as wide |
| 1440 × 900 | 16:10 | half as wide |
| 1280 × 800 | 16:10 | 4/9 as wide |
Export at 2880 × 1800. Apple's page treats the four as alternatives, so one file satisfies the requirement, and 2880 × 1800 carries the most pixels on a desktop display. The same page sets the other limits: one to 10 screenshots, in .jpeg, .jpg and .png formats, and images cannot include alpha channels or transparencies. Files of the right size that still come back refused are covered in App Store Connect screenshot upload errors.
Taking the capture on a Mac
Apple's guide to taking a screenshot on Mac, published on September 14, 2026, gives three ways in.
Shift, Command and 3 captures the entire screen, the shot for showing the app in context, menu bar and all.
Shift, Command and 4 captures a portion: the pointer turns into a crosshair, holding the Space bar while dragging moves the selection without resizing it, and Esc cancels. Follow it with the Space bar instead and the pointer becomes a camera that captures one window or menu. Hold the Option key while you click to leave out the window's shadow. Use that version for a listing image: a baked-in shadow fights whatever background you place the window on.
Shift, Command and 5 opens the Screenshot app, where the settings live. Its Options menu sets a timer, the save location, and whether the pointer appears in the shot. On supported Mac models using macOS Tahoe 26 or later, the same menu chooses the capture format: SDR (Most Compatible) captures in standard dynamic range using the PNG image format, and HDR captures in high dynamic range using the HEIF image format. Pick SDR, because HEIF is not one of the three formats the store accepts.
Cropping the capture to 16:10
The pixel size of a capture depends on the resolution your display is set to, and for a window capture on the window's size as well. Apple's pages do not tabulate what each setting produces, so read it off the file: in the Finder, select the image and choose File then Get Info, or press Command-I, and the information window lists the image dimensions. Resolution itself sits in System Settings under Displays, where Apple notes a Mac uses the best resolution by default.
Then it is one multiplication. A 16:10 image is 0.625 as tall as it is wide, so multiply the capture's width by 0.625 and crop the height to that number. Never scale one axis alone: stretching 1.54:1 into 1.6:1 widens every letter in the interface, and it shows in a menu bar. Here is that sum against the panel resolutions Apple publishes for the MacBook Pro and MacBook Air built-in displays.
| Display | Native resolution | Crop to | Then scale to |
|---|---|---|---|
| MacBook Pro 14.2 inch | 3024 × 1964 | 3024 × 1890 (74 px of height) | 2880 × 1800 |
| MacBook Pro 16.2 inch | 3456 × 2234 | 3456 × 2160 (74 px of height) | 2880 × 1800 |
| MacBook Air 13.6 inch | 2560 × 1664 | 2560 × 1600 (64 px of height) | already accepted |
| MacBook Air 15.3 inch | 2880 × 1864 | 2880 × 1800 (64 px of height) | already accepted |
| iMac 24 inch | 4480 × 2520 | 4032 × 2520 (448 px of width) | 2880 × 1800 |
The MacBook Air rows are the happy case: at 2560 × 1664 and 2880 × 1864, cropping 64 pixels of height lands exactly on an accepted size with no scaling at all. The iMac is the odd one out. Apple lists its 24 inch display at 4480 × 2520, wider than 16:10 rather than taller, so the crop comes off the width.
Crop from the edge carrying the least: the strip below the Dock, or empty desktop above a centred window. If nothing is spare, letterbox instead: place the uncropped capture on a 2880 × 1800 canvas and let a background fill the rest. The Mac screenshot sizes reference lists the four dimensions side by side.
Frames, tilt and Apple's marketing guidelines
Apple's marketing resources and identity guidelines cover marketing communications that use Apple product images, not the screenshot wells in App Store Connect, so read them as the rules for your site, ads and press kit. Two lines change how you capture.
The first is about the desktop: for product images of iMac, MacBook Pro and MacBook Air in the desktop display option, Apple asks you to add your icon to the Dock and customise the menu bar titles to match your app's menu bar. Both are part of the screenshot rather than the frame, so set them before you capture.
The second is about handling. Apple asks for its product images to be used "as is" and without modification, and lists cropping, tilting and obstructing among the modifications. So if a Mac image is going into a press kit built on Apple-provided bezels, keep the device straight and unobstructed, at no smaller than the 200 pixel onscreen floor the guidelines set, and without images of competing products beside it.
Building the Mac set free in appdesigns
All four accepted dimensions are canvas presets in the MacBook mockup generator, and the export comes out at those exact pixel values, so the crop and the scale happen in one step. You can place the capture in a MacBook frame or use no frame, sit it on an image, gradient or colour background, add a headline, and tilt the device for your own site while keeping a straight version for anything built on Apple's bezels. A multi-screen project holds a run of Mac screens, every screen using the same kind of device.
It is free, needs no account to create or export, adds no watermark, places no limit on exports, and renders in the browser; exports are PNG files. There is a gallery of shipped screenshot sets at apps that shipped. It does not check files against store rules or upload them, so the Get Info check is still yours to run.
Frequently Asked Questions
Can I upload a 3024 × 1964 MacBook Pro screenshot to the Mac App Store?
No. App Store Connect lists four accepted Mac sizes and that is not one of them. Apple describes the Mac row as 16:10, and 3024 × 1964 is about 1.54:1. Crop 74 pixels of height, then scale down to 2880 × 1800.
Do Mac App Store screenshots have to be landscape?
Yes. All four accepted sizes are wider than they are tall, so there is no portrait option to choose, and a phone layout cannot be reused as is.
How do I capture just my app window without the drop shadow?
Press Shift, Command and 4, then the Space bar, so the pointer becomes a camera. Hold the Option key while you click the window and the shadow is left out. Apple documents both steps on its page about taking a screenshot on Mac.
Why did my screenshot save as a HEIF file instead of PNG?
On supported Mac models using macOS Tahoe 26 or later, the Screenshot app's Options menu has a capture format setting, and HDR captures using HEIF. Switch it to SDR (Most Compatible) to capture PNG instead. App Store Connect accepts .jpeg, .jpg and .png only.
How many Mac screenshots does a listing take?
You can upload one to 10 screenshots, and a set is required for Mac apps. Keep every image in the set at the same accepted size, since the size belongs to the display class rather than the image.